Just think you are having a good time by sitting on a couch and enjoying the snow outside the window. At that time you will surely admire nature but in the same way, there are real challenges that are waiting for us while we are enjoying nature. People living in areas with low temperatures have to face a lot of challenges due to bad weather.
Vehicles play a great role in such situations and prove to be a blessing, especially for people doing regular jobs. But vehicles demand extra maintenance in such weather. The most common issue that a lot of people face is the damaged oil pan heater and they can't even figure out this problem.
Then, the other issue is the platform where they can find the engine oil pan heater for replacement. For this, you can visit page of A-Premium and can find the perfect replacement parts for your vehicle.
Explaining Oil Pan Heater
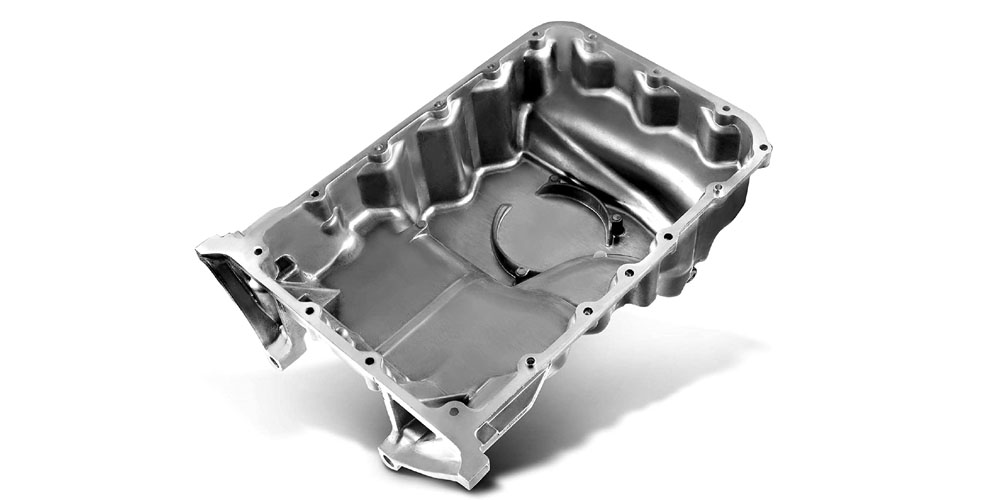
To bring improvement in the engine performance when the temperature is low, an oil pan heater is highly recommended. The responsibility of an oil pan heater includes bringing the oil to its normal state and warming the engine. It consists of connecting wires, a heating pad, a power supply, and an optional thermostat.
We all know that it becomes difficult for our vehicle to run at normal conditions when the temperature is low and everything is freezing. An oil Pan heater acts as a blessing and warms up the engine so that the vehicle can run in normal conditions. Moreover, it also retains the ability of the oil to lubricate all the parts of the engine.
Installation Steps of Oil Pan Heater
People living in cold areas find the oil pan heater their perfect companion. But what if they come across any issues then their replacement becomes very important to get rid of additional problems. The given steps will be helpful for you if you are thinking of replacing the damaged oil pan heater:
Step 1
The initial step is to install the heat pad on a dry, clean, and flat area. A flat surface is mandatory for strong adhesive. Now, you will need a material for scratching the already-coated paint on the heat pad. At this point, you must have to keep in mind that the surface will be left slightly rough so that the adhesive sticks strongly.
Step 2
Next, you have to take Permute 77 BR Silicone or any material similar to it and then apply a considerable amount of it on the oil pan as well as the heat pad.
Step 3
The next step is the most essential and that is to install the heat pad on the pan. Here, you have to keep in mind that, for the removal of extra silicon between the pad and pan you have to apply pressure.
Step 4
Be careful while installing the heat pad on the pan and after this, you have successfully replaced the oil pan heater.
Tips To Know Before Replacing Oil Pan Heater
Before installing an oil pan heat, it's important to keep in mind some tips for perfect Installation.
- Always examine the oil level first, if it is maximum then won't install the oil heater.
- It is highly forbidden to install the oil heater in a sump drain or with vertically positioned elements.
- For providing an adequate mounting hole, the base wall must be 10 mm thick.
Conclusion
There is a great chance that the disturbance in our vehicle is because of any fault in the engine and that can be in its oil pan heater component. Therefore, if you feel an issue in it then it will be effective to replace it before it causes any other serious issue. There are some essential tips that you must keep in your mind while installing the oil pan heater.